Wood Crafters Resource
Your Wood Crafting Hobby and Business Resource


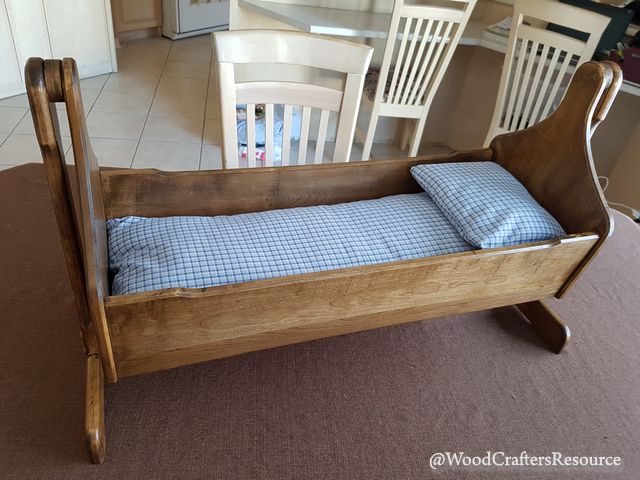
Doll Pendulum Cradle
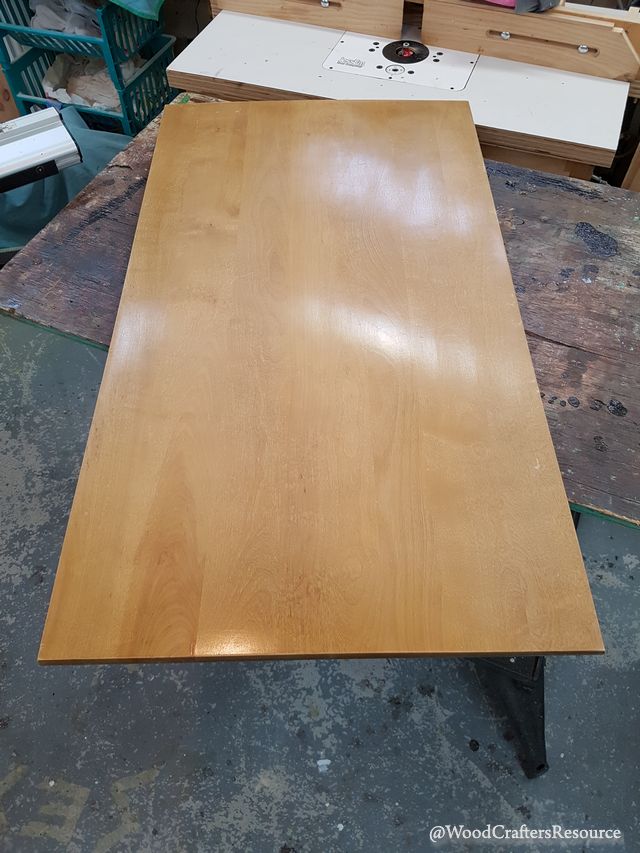
My niece’s daughter loves her dolls. Not only does she spend a lot of time lugging them around wherever she goes, she also has a daycare and school room at home where she can keep an eye on them. One day, I was going through my stockpile of lumber and dug out an old solid maple desk top I had salvaged for use on a rainy day. Although it wasn’t raining on the day I decided to do something with it, I was able to build this doll pendulum cradle with no other materials than the donor desk top. Follow along and see the transformation.
This is the solid maple desk top I started with. Other than a few screw holes here and there, this piece of maple was great to work with.
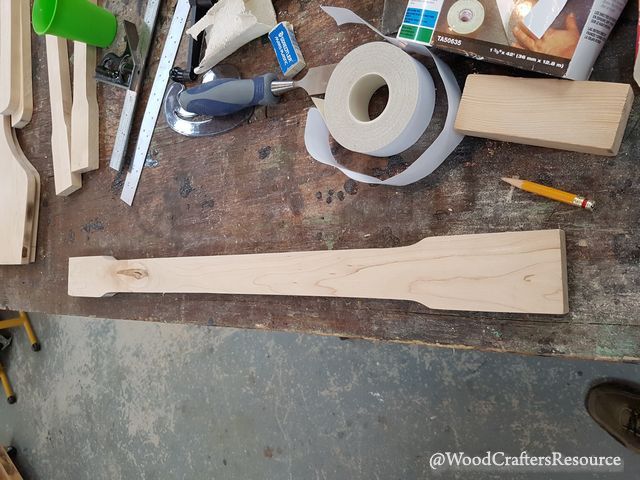
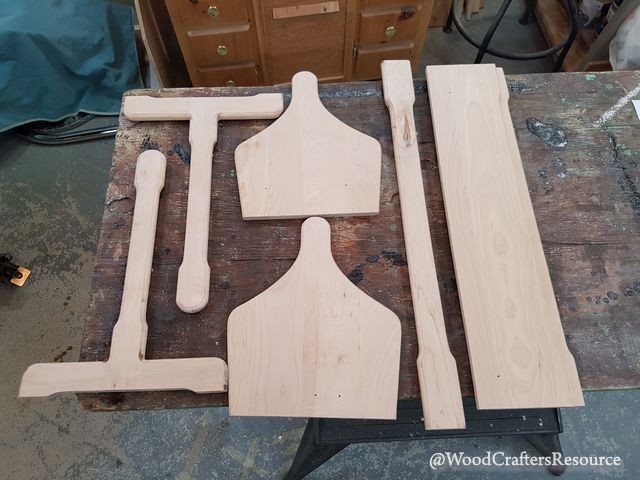
I started off by marking off and cutting the pieces I would need for this project. The pieces consisted of 2 cradle vertical supports, 2 feet that the cradle supports would attach to, 1 stretcher that would join the 2 vertical supports, 2 cradle end pieces and 2 cradle sides. The bottom of the cradle would come from some 1/4-inch hardwood plywood I had left over from another project.
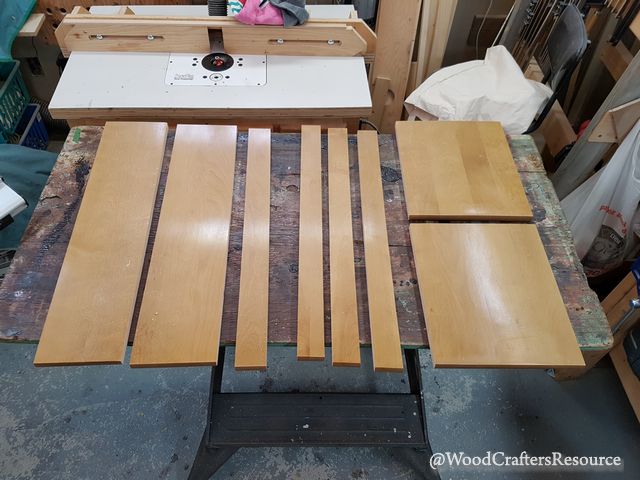
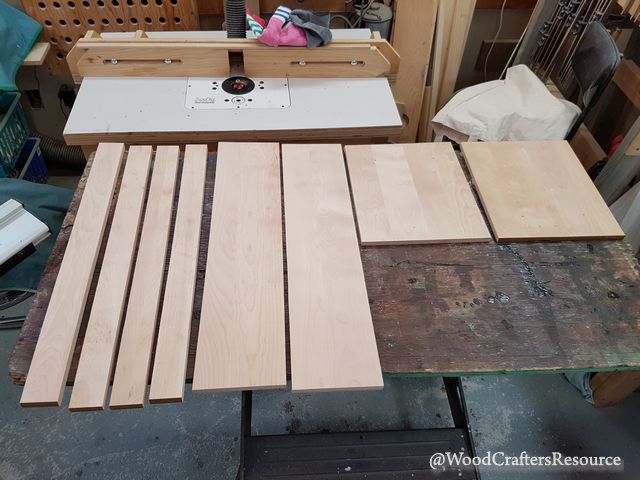
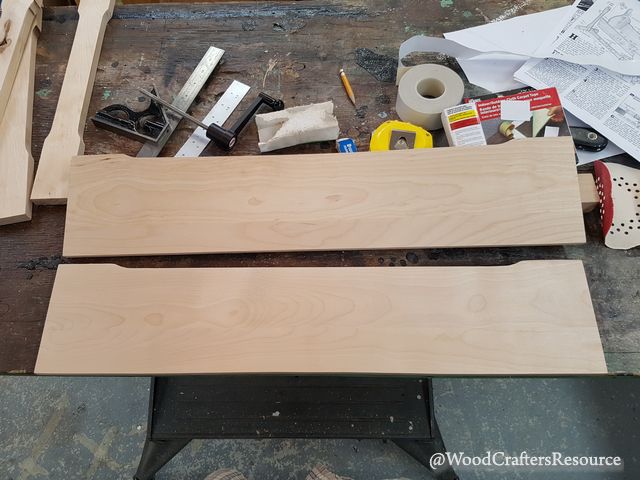
After the pieces were cut, I passed them through the planer to remove the old finish. I only needed to remove enough material to get rid of the finish. The cradle sides were planed to 1/2-inch while keeping all the other pieces to a hair less than 3/4-inch.
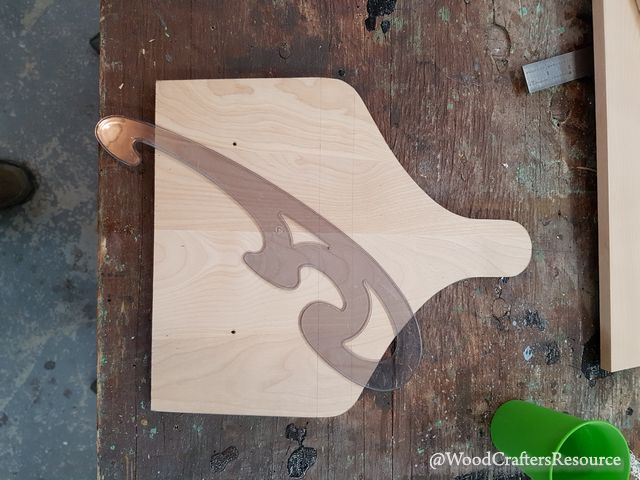
Using a French curve, I formed the curve on the upper parts of the cradle end. I cut and shaped the first piece, which I then used as a template to produce the second piece.
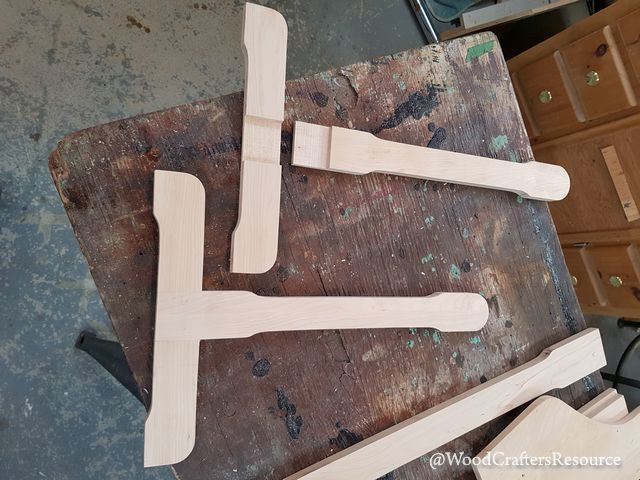
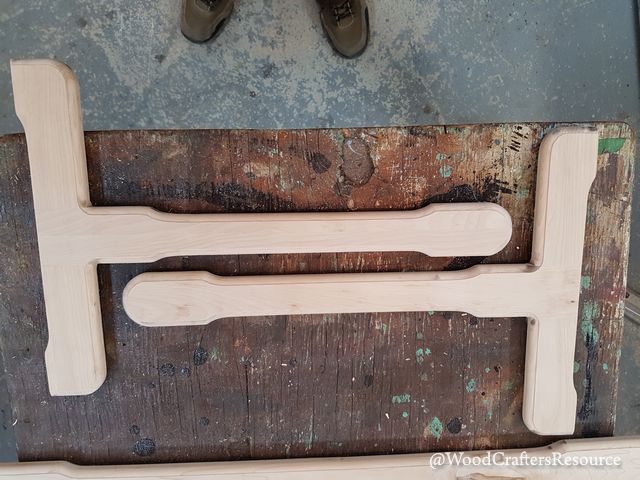
I then drew the profile for the vertical supports.
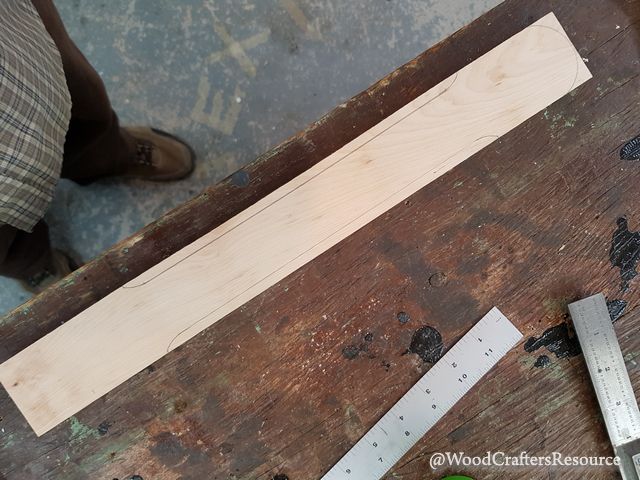
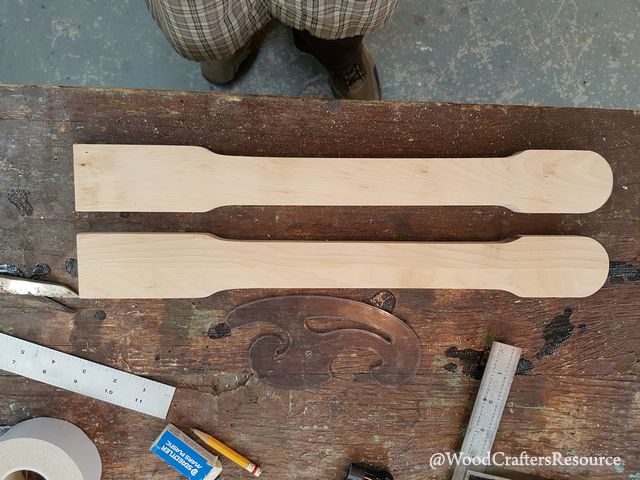
The supports were then cut and shaped.
The feet were simple enough to make.
Next, I drew, cut and shaped the stretcher.
The cradle sides were made of 1/2-inch stock. A profile was drawn, cut and shaped.
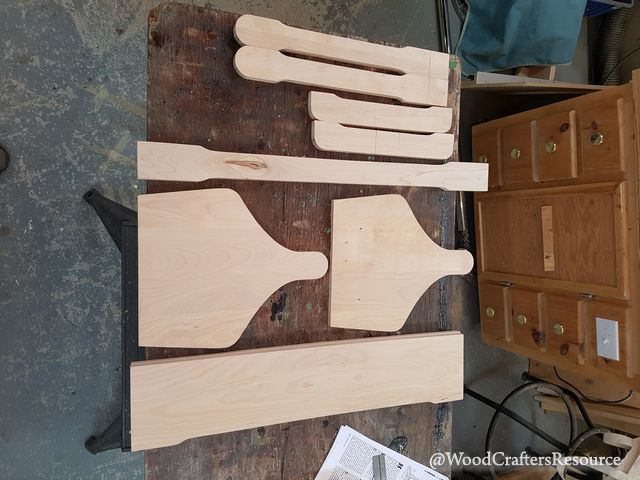
Here are all the components prior to routing the edges with a quarter round bit.
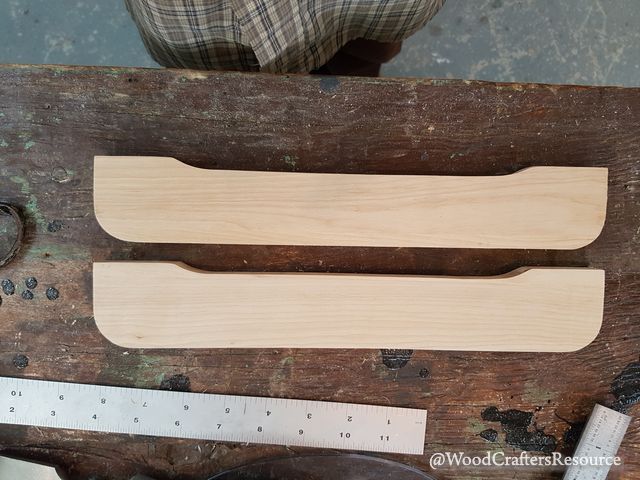
Dados were then formed on the feet to receive the rabbet that was routed in the cradle vertical supports.
Once the feet and supports were glued together, a quick pass of the router was applied to all the edges.
Below are all the pieces with routed edges.
The cradle will swing based on a 3/4-inch dowel that will seat in recesses in the end pieces and vertical supports. Spacers were made to offset the cradle from the supports to prevent the cradle from rubbing against the supports while the cradle swings.
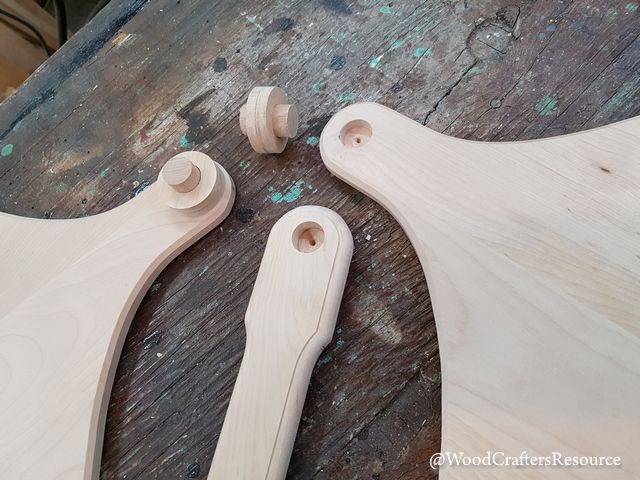
Here is a view of how the swinging assembly will look like.
Grooves were then cut into the cradle sides and ends to receive the cradle bottom. It was now time to begin the assembly of all the pieces. I used screws that would later be hidden with wood plugs.

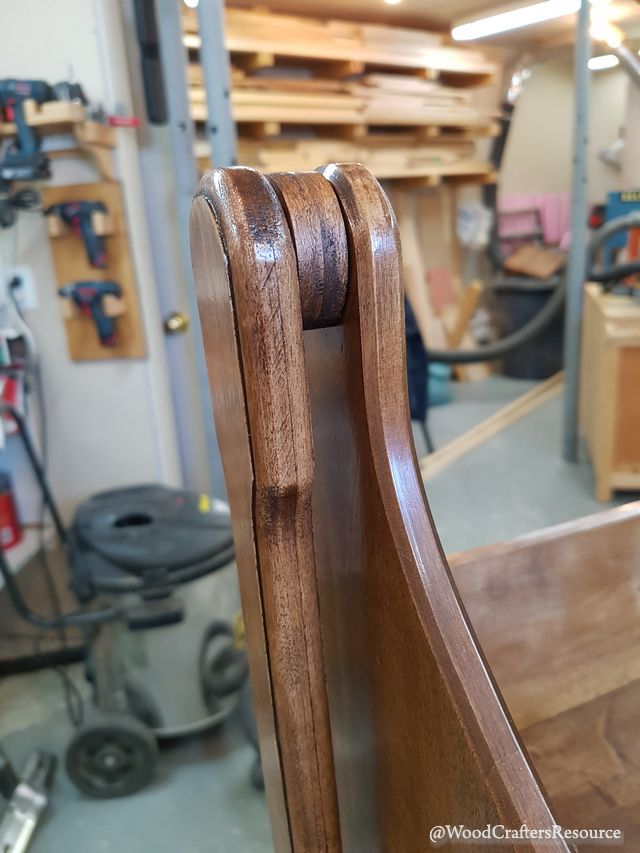
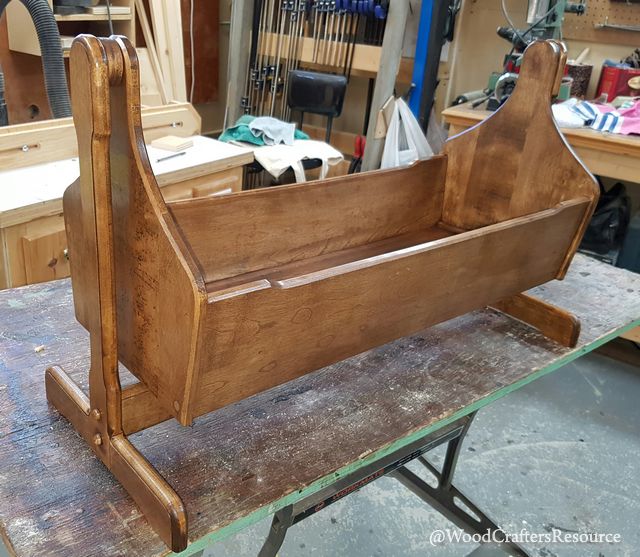
Once assembly was completed, I proceeded with staining the cradle, followed by 5 coats of wipe-on polyurethane.
A quick trip to the sewing machine yielded a bottom cushion and pillow.
Hope Jasmine enjoys this gift.
Source of plans: November 2002 Wood Magazine Issue #145 (available online)
